Ever noticed how some bathroom paint jobs last while others don’t? Knowing how to paint bathrooms is key. This section covers expert advice for a successful DIY bathroom paint project. You’ll learn to choose the right paint and techniques for areas with lots of moisture. These tips will help you achieve a durable, beautiful bathroom.
Key Takeaways
- Recognizing the unique challenges of bathroom painting can set the stage for success.
- Moisture-resistant paint is crucial for maintaining durability and appearance.
- Proper preparation can significantly enhance the outcome of your painting project.
- Employing professional techniques can elevate the overall quality of your work.
- Regular maintenance is key for long-lasting beauty in bathroom finishes.
Understanding the Unique Challenges of Bathroom Painting
Painting bathrooms is tricky due to high humidity and moisture. These factors must be considered to ensure the paint lasts and avoids problems like mold. The choice of paint affects both how your bathroom looks and how well it stands up to moisture.
Humidity and Moisture Considerations
Bathrooms are often wet, leading to high humidity. This makes them a perfect place for mold and mildew. It’s vital to pick paint that can handle humidity and prevent these issues.
Choosing the Right Paint for High Moisture Environments
For bathroom paint, look for labels that say they are good for kitchens and bathrooms. They’re made to fight moisture and mold. Semi-gloss and high-gloss finishes are best since they repel water. They also make cleaning easier and shield against humidity. Using top-quality paint brands helps avoid water damage.
| Type of Finish | Moisture Resistance | Ease of Cleaning |
|---|---|---|
| Matte | Low | Challenging |
| Eggshell | Medium | Moderate |
| Semi-gloss | High | Easy |
| High-gloss | Very High | Very Easy |
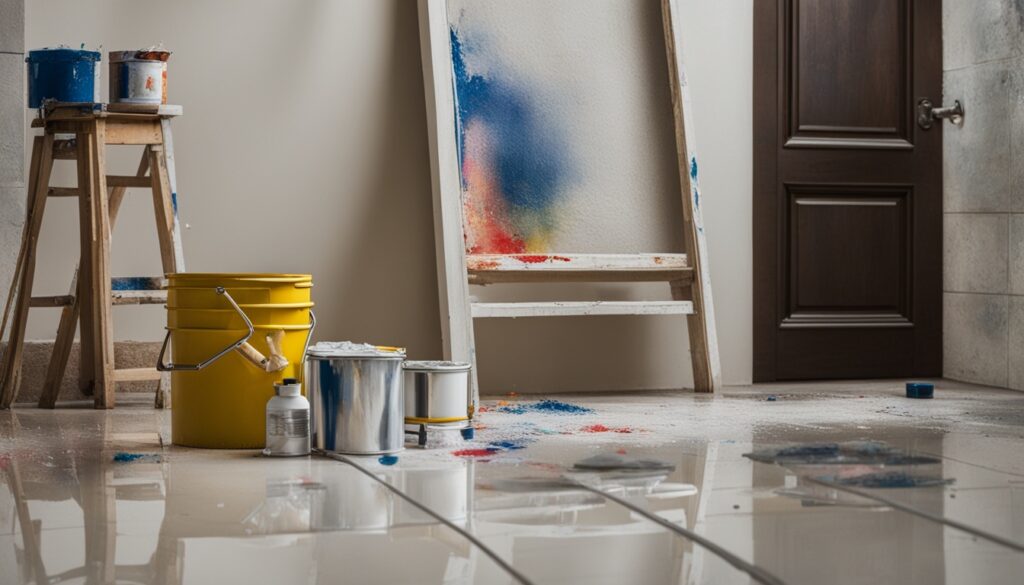
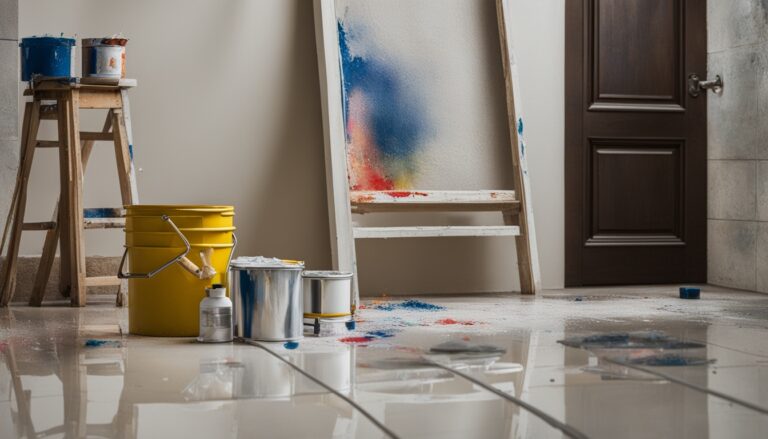
Preparation Steps for a Successful Bathroom Painting Project
Getting your bathroom ready for painting is key. A well-prepped space makes the painting smoother and the results better. Follow these steps to dodge the usual snags in bathroom painting.
Clearing the Space and Removing Obstacles
First, empty the bathroom. Take down any art, towels, and decorations that are in the way. If you can, remove the toilet for better access to tight spots. This helps make a clear area for painting.
Cleaning Your Walls Thoroughly
Cleaning the walls is a must. Use a mix of one-part TSP and four-parts water to clear away soap scum, mildew, and dirt. This makes sure the paint sticks well. A deeper clean leads to a longer-lasting paint job.
Protecting Other Surfaces from Paint
It’s important to protect surfaces when painting your bathroom. Use drop cloths or plastic to cover floors, counters, and fixtures. Tape them down to keep spills and splashes away. This keeps your bathroom safe from paint damage.

| Preparation Step | Detail |
|---|---|
| Clear Space | Remove items that obstruct painting, including decor and sometimes the toilet. |
| Cleaning Walls | Use a TSP mixture to ensure walls are free of grime for proper adhesion. |
| Protecting Surfaces | Cover surrounding areas with drop cloths and tape them to avoid spills. |
Expert Tips for Bathroom Painting
Painting bathrooms requires skillful approaches for the best results. Using the right techniques not only makes it look better but also lasts longer. To get the best out of your bathroom painting job, follow these expert tips.
Proper Techniques for Cutting In and Rolling
Clean edges are key in small bathroom spaces. Use an angled brush for corners and baseboards for accuracy. For bigger wall spaces, a roller quickly covers and gives a smooth finish. With these techniques, you can make your bathroom look professionally done.
Allowing Sufficient Drying Time
Drying time is crucial in painting. You should wait at least 48 hours before using the bathroom again. This waiting ensures the paint sticks well and avoids damage. Knowing your paint’s drying time improves quality and endurance.
Repainting and Maintenance Tips for Longevity
Choosing high-quality paint is smart for repainting jobs. The right products make bathroom upkeep easier. Clean painted areas regularly to keep them looking good. Do touch-ups as necessary to maintain freshness. Adhere to the paint’s maintenance guidelines to make your bathroom’s look last longer.
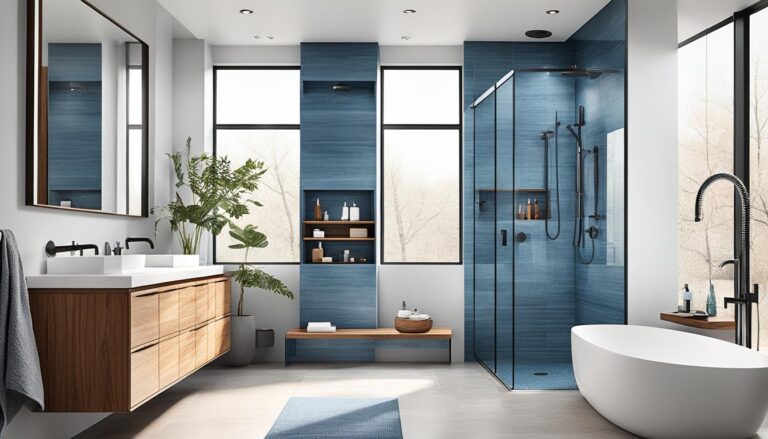
Choosing the Best Bathroom Paint Colors and Finishes
Selecting the right paint colors makes a big difference in your bathroom. Light shades like soft pastels or white can make it feel bigger. They bounce natural light around, making the space bright and welcoming.
Looking for something with impact? Go for dark colors like navy or forest green. They add a bold touch, perfect for an accent wall or decor. These colors create a stunning contrast in your bathroom.
Picking durable paint finishes is also key for bathrooms. Semi-gloss or high-gloss paints handle moisture well and add shine. These glossy finishes help your bathroom look brighter and more open.
DIY bathroom ideas often use creative color mixes and finishes for a personal touch. You can mix in textured elements or bold patterns. Think about how your color choices match your fixtures and design theme.
Conclusion
Painting a bathroom right needs understanding its challenges, especially with humidity. To make sure your paint and methods hold up, you need good tips. Getting the prep work right is key for a great transformation.
By using the tips from this article, you’re on your way to a better bathroom. Picking the right paint and applying it well matters a lot. Doing this makes your bathroom look good and last long.
To sum up, pay close attention to preparation and use the best materials. Apply what you’ve learned here to enjoy painting your bathroom. With smart steps, you’ll have a bathroom that’s both beautiful and shows you care.
FAQ
What type of paint is best for bathroom painting?
The ideal paint for bathrooms is specifically made for high-moisture areas. This includes kitchens and bathrooms. Opt for semi-gloss or high-gloss finishes. These finishes resist moisture well and are durable.
How do I prepare my bathroom for painting?
First, remove any items like artwork and towel racks from the area. Taking out the toilet provides better access to the walls. Clean your walls well to get rid of soap scum and dirt. This ensures the paint will stick properly.
What are effective techniques for painting a bathroom?
Cut in at the edges with an angled brush for neat lines. Then, use a roller to cover the larger spaces. This method gives a smooth, even finish to your bathroom walls.
How long should I allow for drying time after painting?
Give the paint at least 48 hours to dry fully before using the bathroom again. This wait ensures the finish is durable and helps avoid damage.
What color choices work best for small bathrooms?
Light colors make small bathrooms feel more open. But, daring to use bold colors can add a dramatic touch. Choose based on the effect you want.
How can I maintain my newly painted bathroom walls?
Keep your walls clean and touch up as needed to maintain their appearance. Also, follow the paint’s maintenance instructions to extend the finish’s life.
How can I protect surfaces while painting?
Use drop cloths or plastic to cover floors and fixtures, keeping them safe from drips. Secure everything with painter’s tape to avoid mishaps during painting.