Are you ready to uncover the hidden difficulties of bathroom demolition? Many homeowners don’t see how complex this part of remodeling can be. But knowing the right steps can save you time, money, and trouble. This guide gives you the insights you need. You’ll learn how to remove things the right way and get tips for a great bathroom makeover. This will help make your next renovation project a hit.
Key Takeaways
- Understanding the critical role of demolition in successful bathroom renovations.
- Knowing how to identify what needs to be removed before starting the job.
- Gathering the right tools and safety gear is essential for a safe demolition process.
- Effective methods for tile and fixture removal can drastically improve your workflow.
- Assessing cleanup and waste management options post-demolition is crucial for efficiency.
Overview of Bathroom Demolition
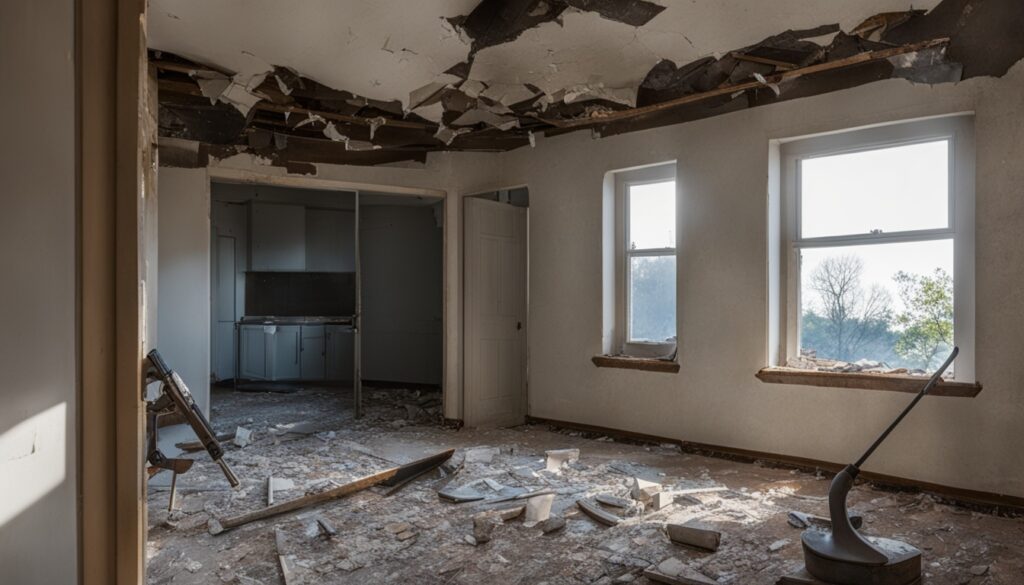
Starting a bathroom makeover begins with bathroom demolition. This crucial step lays the groundwork for a great renovation. It’s key to know how vital demolition is, as it preps the area for exciting updates. Knowing the right steps for demolition helps make the project safer and more efficient.
Understanding the Importance of Demolition in Remodeling
The demolition phase kicks off the renewal of an old or flawed bathroom. It lets homeowners fix problems like bad plumbing or mold first. Proper demolition clears the space for new designs, increasing both function and beauty.
Key Steps for a Successful Demolition
To demolish a bathroom successfully, you need good prep, planning, and careful action. A structured plan helps dodge risks and problems. The main steps involve:
- Checking the current layout to see what needs to go
- Getting safety gear and tools ready for a safe work area
- Writing down the process for later use and to keep track of progress
Identifying What Needs to be Removed
Finding out which parts need to go is crucial in bathroom demolition. The usual items to remove include:
- Vanities and cabinets
- Toilets and sinks
- Tiles on walls and floors
Knowing what to remove helps clear the way. This makes moving into renovating easier.
Preparation for Bathroom Demolition
Getting ready properly is key for a smooth bathroom demolition. It ensures everything goes well, from start to finish. This means having the right tools and protective gear ready. It also involves clearing the space well, and turning off any utilities.
Gathering Necessary Tools and Safety Gear
Before you begin tearing things down, it’s important to gather all the needed tools. Your toolkit should have:
- Hammers
- Utility knives
- Drills
- Reciprocating saws
- Safety gear, such as gloves, goggles, and masks
- Plastic sheets for dust control
With these tools, you can remove fixtures and surfaces easily. Remember, safety gear is a must to avoid injury from debris and hazardous materials.
Clearing Out the Bathroom
Clear the bathroom before you start. Remove all your personal items like toiletries and towels. Also, take out old fixtures such as sinks and toilets. This protects your belongings and prepares the area for work. Make sure to organize a spot for items to keep or throw away.
Shutting Off Utilities: A Crucial Step
Don’t forget to turn off utilities like water and electricity. This is very important before beginning the demolition. It keeps you and your home safe, preventing accidents like flooding or electric shocks.
| Task | Tools Needed | Safety Gear |
|---|---|---|
| Removing Fixtures | Hammers, wrenches, screwdrivers | Gloves, goggles |
| Clearing Debris | Utility knife, trash bags | Dust mask, gloves |
| Shutting Off Utilities | None needed | None needed |
Bathroom Demolition Techniques
Understanding different methods is key to DIY bathroom demolition. You’ll learn the best ways to remove fixtures and tiles. This ensures you do the job right, avoiding damage or injury.
Step-by-Step Guide to Removing Fixtures
To remove bathroom fixtures smoothly, follow these steps:
- First, collect tools like a wrench, screwdriver, and utility knife.
- Then, turn off the water supply to the fixtures you’re removing.
- Use the wrench to disconnect plumbing, loosening any tight fittings.
- Next, unscrew or unbolt the fixture from the wall or floor.
- Finally, carefully lift and remove the fixture to avoid damaging surfaces.
Effective Methods for Bathroom Tile Removal
To remove bathroom tiles while preserving the surface beneath, try these tips:
- Start with a hammer and chisel for glued tiles. Tap gently to break them free.
- If tiles won’t budge, a heat gun can soften the adhesive, making them easier to remove.
- Once loosened, use a pry bar to lift tiles. This helps prevent damage to the surface below.
How to Safely Remove a Bathtub or Shower
Here are the steps to safely remove a bathtub or shower:
- Clear the area and wear protective gear like gloves and goggles.
- Disconnect the drain and any plumbing connected to the bath or shower.
- If necessary, remove wall panels or tiles around the unit.
- With help, gently lift and roll the bathtub or shower out.
- Dispose of it properly, following local disposal rules.

Post-Demolition Considerations
After the demolition is done, there are some important steps to get ready for the renovation. This stage is about managing waste well, checking for any damage, and choosing between doing it yourself or getting pros.
Managing Waste: Renting a Dumpster
Renting a dumpster is key for a smooth bathroom makeover. It makes getting rid of debris easy. This keeps your area clean and safe. Here are some tips for dumpster rental:
- Select an appropriate size based on the volume of waste.
- Check the rental duration to align with your project timeline.
- Inquire about weight limits to avoid additional charges.
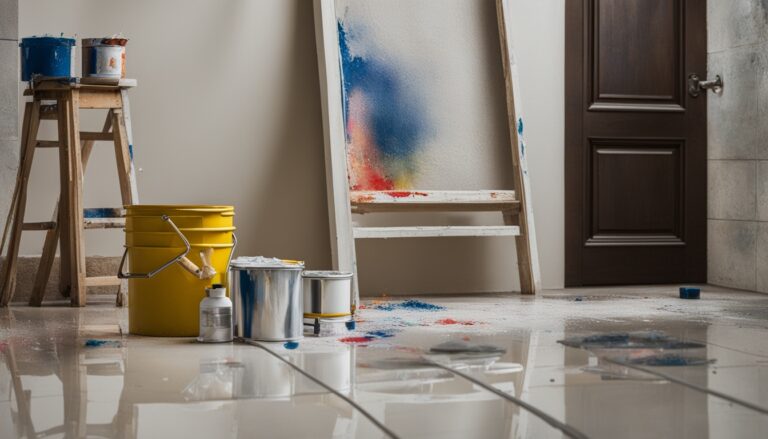
Assessing Damage and Preparing for Renovation
Once the teardown is done, look for any possible damage. Check the walls, floors, and pipes closely. Spotting these problems early helps make a good plan for fixing your bathroom. Write down any damage and think about getting advice from pros. Using tips for renovating your bathroom, like measuring and planning, can improve your project.
Choosing Between DIY and Professional Bathroom Demolition Services
Choosing to DIY or hire pros for bathroom demolition needs thought. Think about these factors:
- Experience: Compare your skills to the project’s needs.
- Time: Decide if you can finish the project on time.
- Safety: Consider the needed safety steps and tools.
DIY might save money, but pros can do it faster, safer, and better. Think about these points to decide wisely.
Conclusion
This guide to bathroom demolition covers all you need for safe and efficient work. Homeowners must put safety first and prep well before starting. Knowing the steps, like getting tools and turning off utilities, makes for a smooth start.
The article also talks about the need for careful work in tearing things down. Every step, from taking out fixtures to checking for damages, helps make sure the next steps, like remodeling, go well. Being organized helps turn a big task into something doable.
Getting ready with the right knowledge and confidence sets you up for success in upgrading your bathroom. With this information, you’re all set to tackle bathroom demolition and make your ideal space come to life.
FAQ
What is the first step in bathroom demolition?
Start with preparation. This includes getting tools ready, emptying the bathroom, and cutting off water and electricity. This ensures safety during demolition.
What tools do I need for DIY bathroom demolition?
You will need hammers, utility knives, chisels, and pry bars. Don’t forget safety gear like gloves and goggles. Also, use plastic sheets for dust control and a dumpster for waste.
How do I safely remove bathroom fixtures?
First, make sure utilities are off. Then use the right tools for each fixture, following a step-by-step guide. For sinks and toilets, drain all water before removing them.
What is the best way to remove bathroom tiles?
Use a hammer and chisel for tile removal. Do it gently to not harm what’s underneath. Always wear safety goggles to protect your eyes.
Should I handle bathroom demolition myself or hire a professional?
It depends on your skills and the job’s size. For small projects, you might manage on your own. For big jobs, hiring experts is safer. They bring safety and expertise.
How can I manage waste after demolition?
Rent a dumpster for easy debris removal. Try to recycle and follow local rules. This keeps things organized and efficient.
What should I do if I discover damage during demolition?
If damage is found, stop and check how bad it is. Fix any major issues like structural or plumbing problems before starting renovations. It’s key for a safe remodel.